Create or Import an API Definition
You can add a new API entity in APIMatic or if you already have an API specification in one of the supported formats, you can import it into APIMatic. Once you add or import an API specification, you can also provide additional settings for your API specification like authentication and codeGen, as explained in Configure API Settings.
Create API Definition
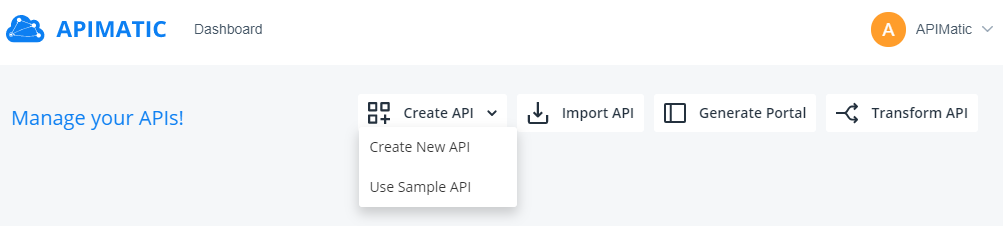
On the APIMatic Dashboard, click on Create and select Create New API to create an empty API entity.
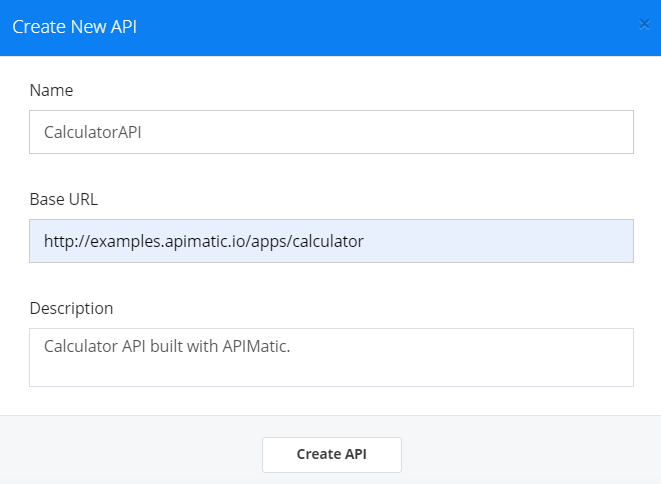
Specify the new API Name, Base URI and Description. Click on Create API.
This will add the new API entity into your dashboard, and you get a prompt to edit the API. Clicking on Edit API redirects you to the APIMatic API Editor.
Import API Definition
note
An API imported into APIMatic is not available to the public rather is displayed in preview mode, which means that the transformed API/generated portal can only be accessed through a private url that has a guid value in the path. Moreover, only people logged in with APIMatic account can access the portal through that private url.
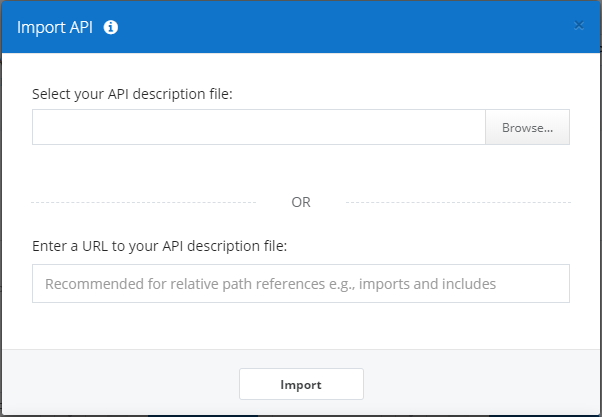
On the APIMatic Dashboard, click on the Import option.

When importing, you can then either upload the API specification file from your local system or provide a URL that points to the API specification file.
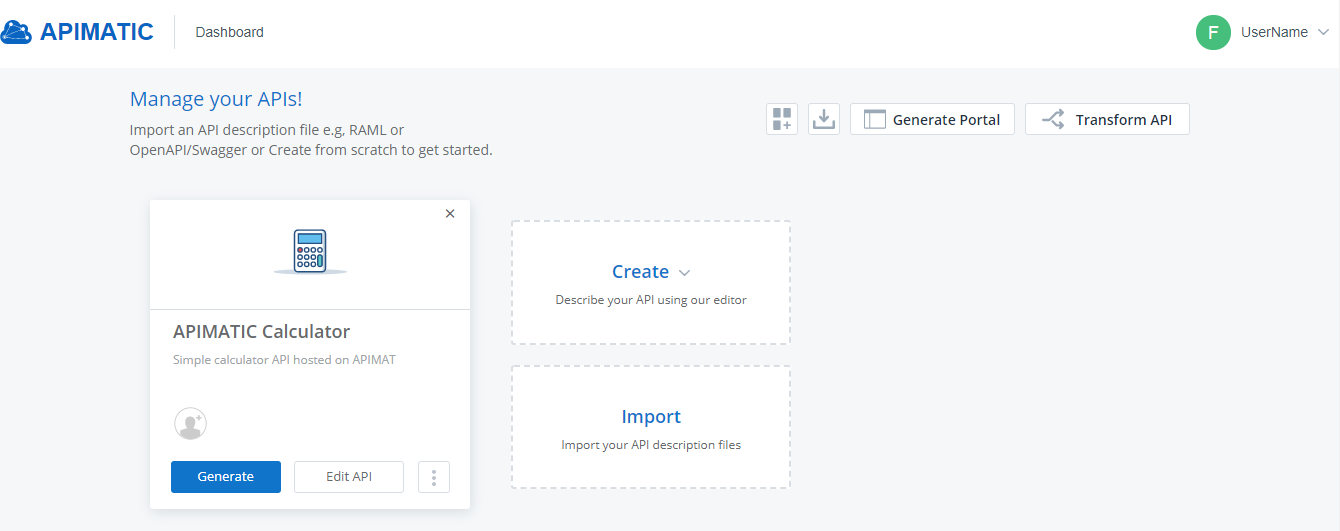
Once the API specification is imported, it will be visible in the list of APIs in the Dashboard as shown below: